
Using a custom MacOS terminal font can help improve readability in the terminal. After posting my MacOS Terminal Theme blogpost I got questions about that font that is used in the screenshots. I am using the Source Code Pro font in my MacOS terminal. This font is easy on the eyes and should help improve the readability in the terminal. In this post I will show how to get this font and install it in your MacOS terminal.
Getting and installing the font
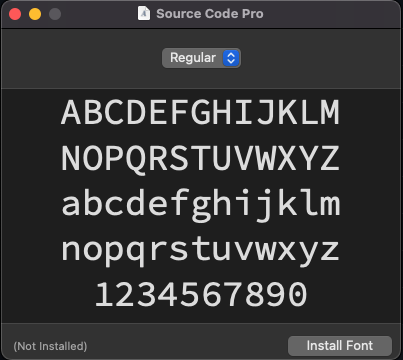
The font can be found on GitHub but the easiest way is to download it via Google Fonts. On the Google Fonts page you can download all the versions of the Source Code Pro font in a zip file. Open the zip file and open the specific font or all fonts and press Install Font.
Setting the font in the terminal
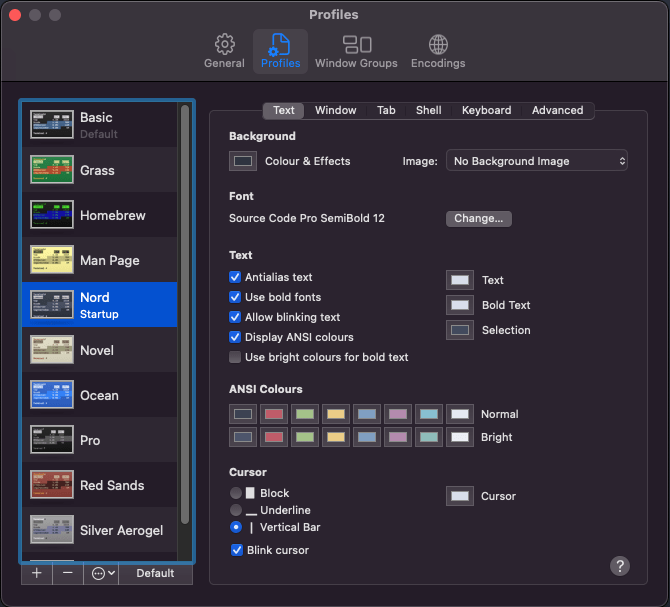
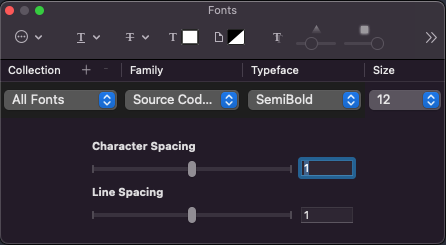
Now that we have the font install in MacOS we can set up the font in the terminal. Open the terminal and go to the Preferences page. Select your desired theme and go to the Font settings. Here you can select the font, font size and spacings.
Conclusion
You should now tweak the fonts settings that best suits your eyes and screens. My personal preferences with the Source Code Pro font is using the SemiBold variant with Size 12. For me this is the easiest on the eyes with my screens that I’m using with my Macbook Air M1. Combining it with the Nord Theme I think you should have a nice looking setup for your MacOS terminal. For how to install the Nord Theme head over to my previous post about MacOS Terminal Theme. If you have any tips or suggestions leave them in the comments!